
Calling all busy mornings! This Overnight Oats recipe is your answer to healthy, grab-and-go breakfasts. It’s incredibly easy to prepare, requires minimal cooking time, and can be customized to fit any dietary preference. Let’s dive into the wonderful world of overnight oats!
A History of Convenience: The Rise of Overnight Oats
While the exact origin of overnight oats is unknown, it’s believed to have emerged as a time-saving breakfast option sometime in the late 20th century. The concept is simple: combine rolled oats with milk or yogurt, and let it sit overnight in the refrigerator. This allows the oats to soften and absorb the liquid, resulting in a creamy, delicious breakfast.
Overnight oats gained significant popularity in recent years due to their convenience and versatility. They’re perfect for meal prepping, as you can make a large batch ahead of time and portion them out for the week. Additionally, with endless customization options, overnight oats can cater to various dietary needs and taste preferences.
Tools You’ll Need: Prep Like a Pro!
This recipe is all about simplicity, and the tools required reflect that. Here’s what you’ll need:
- Mason Jars or Airtight Containers (2): These will be your vessels for storing your overnight oats. Mason jars are a popular choice because they’re see-through and have a tight seal, but any airtight container will work.
- Spoon: For mixing your ingredients.
This recipe yields two servings, but you can easily scale it up or down depending on your needs. And the best part? The prep time is a mere 5 minutes!
Ingredients: Unleash Your Inner Chef (With Substitutions!)
The beauty of overnight oats lies in their flexibility. Here’s a breakdown of the ingredients and some substitution options:
- Rolled Oats (1/2 cup per serving): These are the foundation of your overnight oats. They provide a good source of fiber and complex carbohydrates, keeping you feeling full throughout the morning. Steel-cut oats can be used as a substitute, but they require a longer soaking time (overnight is recommended). Quick oats will work in a pinch, but they tend to get mushy.
- Milk (1/2 cup per serving): Milk adds creaminess and moisture to your oats. Here are some options to consider:
- Dairy Milk: Choose whole milk for a richer texture, or skim milk for a lighter option.
- Non-Dairy Milk: Opt for soy milk, oat milk, almond milk, or any other nut milk you prefer.
- Yogurt: Substitute 1/4 cup of plain Greek yogurt for part of the milk for added protein and a tangy flavor.
- Sweetener (1-2 teaspoons per serving, optional): This is where you can personalize your sweetness level. Popular options include:
- Maple Syrup: A classic choice that adds a warm, caramelly flavor.
- Honey: Offers a natural sweetness with a subtle floral taste.
- Agave Nectar: A vegan option with a lower glycemic index than sugar.
- Fresh or Dried Fruit: The natural sugars from fruits provide sweetness without any added sugar.
- Chia Seeds (1 teaspoon per serving, optional): These tiny powerhouses are packed with nutrients like fiber, omega-3 fatty acids, and protein. They also help thicken the texture of your overnight oats. Chia seeds can be omitted if you don’t have them on hand.
- Vanilla Extract (1/2 teaspoon per serving, optional): A touch of vanilla extract adds a depth of flavor and complements many other ingredients.
- Pinch of Salt: Salt enhances the overall flavor profile of your oats.
Top Tip: Don’t be afraid to experiment with different ingredients! Nuts, seeds, spices, and even shredded chocolate can be added to create your perfect flavor combination.
Step-by-Step Guide: Overnight Oats Made Easy
Here’s where the magic happens! Follow these simple steps to create delicious overnight oats:
- Gather your ingredients and chosen container(s).
- Add the rolled oats, milk, sweetener (if using), chia seeds (if using), vanilla extract (if using), and salt to your container(s). Give it a good stir to ensure everything is well combined.
- Seal the container(s) tightly and refrigerate for at least 4 hours, or ideally overnight. The longer they soak, the creamier the oats will become.
- In the morning, take your overnight oats out of the fridge. Give them another quick stir if any separation has occurred.
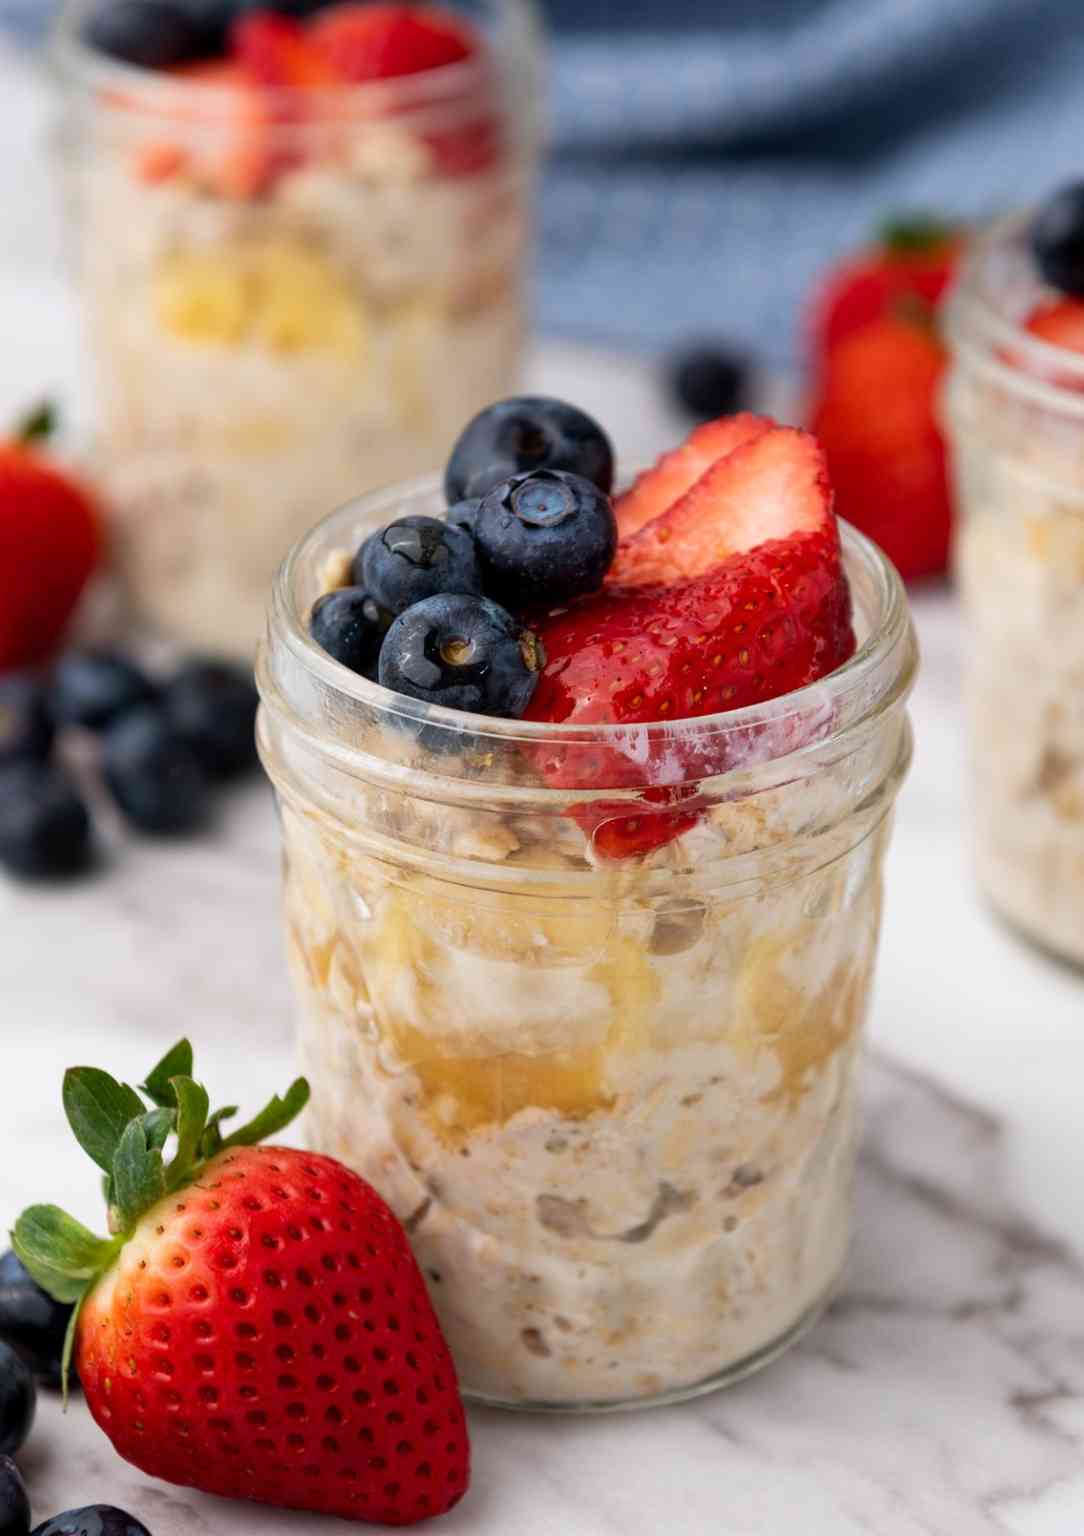
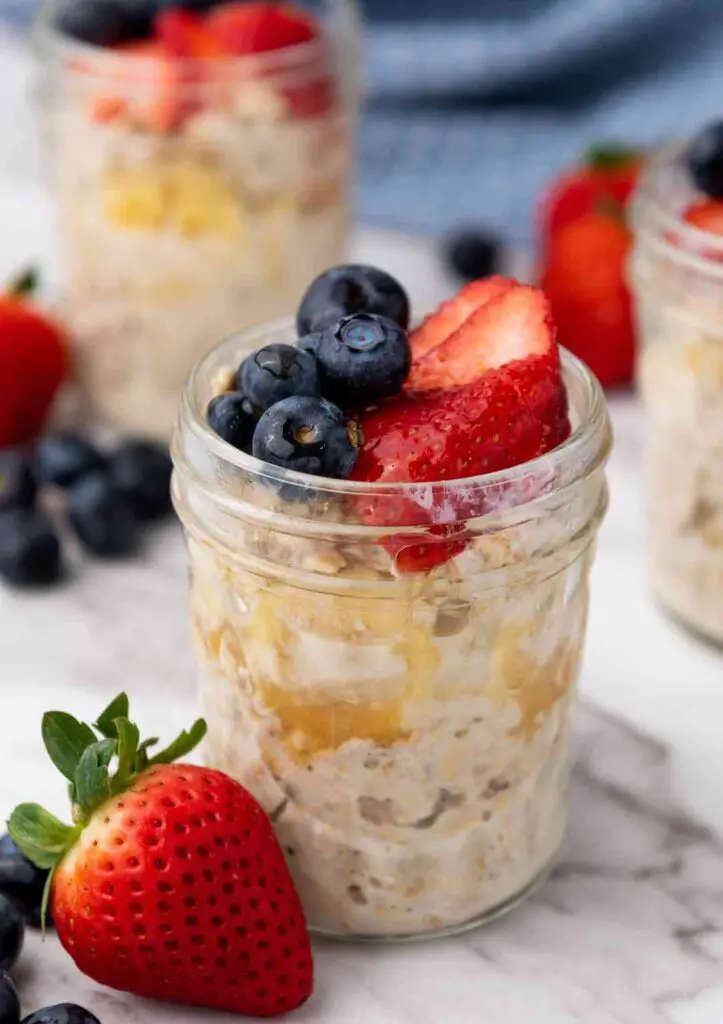
- Top your oats with your favorite goodies! Fresh berries, sliced bananas, chopped nuts, a drizzle.
Top 5 Mistakes to Avoid: Overnight Oats Mastery Awaits!
Even the simplest recipes can have pitfalls. Here are the top 5 mistakes people make with overnight oats, along with tips to ensure breakfast success:
- Not Using Enough Liquid: Dry and clumpy overnight oats are a breakfast bummer. The general rule is a 1:1 ratio of oats to liquid. However, this can vary depending on the type of oats you use and your desired texture. If your oats seem dry after soaking, add a splash more milk or yogurt in the morning.
- Skimping on the Soaking Time: Patience is key! While overnight oats are technically ready after 4 hours, allowing them to soak for a full 8 hours or even overnight will result in a creamier, more enjoyable texture.
- Forgetting the Salt: A pinch of salt might seem insignificant, but it plays a crucial role in balancing the sweetness and enhancing the overall flavor profile of your oats. Don’t skip it!
- Going Overboard with Sweeteners: It’s easy to get carried away with adding honey, maple syrup, or other sweeteners. Remember, fruits naturally add sweetness as well. Start with a smaller amount of sweetener and taste your oats before adding more.
- Choosing the Wrong Container: While mason jars are a popular choice, any airtight container will work. Ensure your container is large enough to hold all the ingredients without overflowing, and that it seals tightly to prevent leaks or drying out.
Frequently Asked Questions: Overnight Oats Demystified
Here are some common questions people have about overnight oats:
- Can I use steel-cut oats? Yes, but they require a longer soaking time (ideally overnight) due to their denser texture.
- Are overnight oats gluten-free? Rolled oats are naturally gluten-free, but be sure to check the label if you have celiac disease to ensure they haven’t been processed in a facility that handles gluten. Opt for certified gluten-free oats for peace of mind.
- How long will overnight oats last in the fridge? Overnight oats can be stored in the refrigerator for up to 5 days. However, the texture might become slightly softer as they sit longer.
- Can I warm up my overnight oats? Absolutely! If you prefer warm oats, simply microwave them on low for 30-60 seconds, stirring occasionally, until heated through.
- Are overnight oats vegan? They can be! Use plant-based milk like almond milk or oat milk, and skip the honey. You can add chopped nuts or seeds for extra protein and texture.
Conclusion: Embrace the Overnight Oats Revolution!
Overnight oats are a game-changer for busy mornings. They’re healthy, customizable, and require minimal effort. With a little planning and these helpful tips, you can create delicious and satisfying overnight oats that will keep you energized throughout the morning. So, unleash your creativity, explore different flavor combinations, and join the overnight oats revolution!